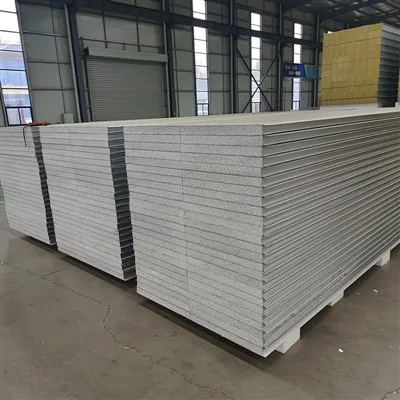

Hey there! If you're in the market for a durable and versatile roofing solution, polycarbonate corrugated sheets are a fantastic choice. As a trusted polycarbonate corrugated sheet supplier, I've seen firsthand how these sheets can transform a space. In this blog, I'm gonna walk you through the process of installing polycarbonate corrugated sheets, step by step.
Why Choose Polycarbonate Corrugated Sheets?
Before we dive into the installation process, let's quickly touch on why polycarbonate corrugated sheets are so great. These sheets are super strong, with high impact resistance. They can withstand harsh weather conditions, like strong winds, heavy rain, and even hail. Plus, they're lightweight, which makes them easier to handle during installation.
Another awesome feature is their transparency. Polycarbonate sheets allow natural light to pass through, which can reduce your energy consumption by decreasing the need for artificial lighting. And if you're worried about UV rays, many polycarbonate corrugated sheets, like the ones you can find at UV Protected PC Roofing Sheet, come with UV protection to prevent yellowing and degradation over time.
Tools and Materials You'll Need
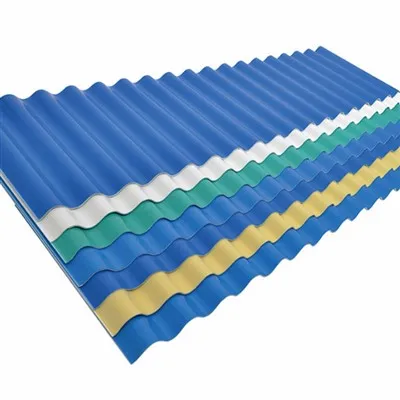
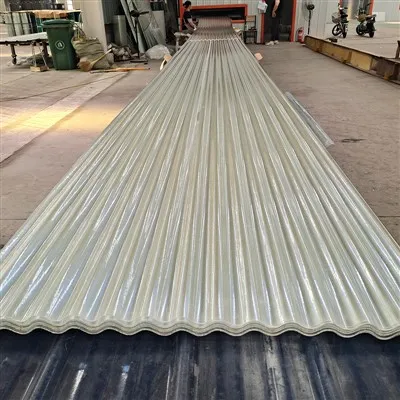
- Polycarbonate corrugated sheets: Make sure you get the right size and type for your project. Whether you're looking for a Polycarbonate Roofing Tile, a PC Corrugated Wave Roof Sheet, or a Greenhouse Corrugated Polycarbonate Sheet, we've got you covered.
- Measuring tape: To measure the area where you'll be installing the sheets.
- Circular saw or jigsaw: For cutting the sheets to the right size. Make sure to use a fine-tooth blade to avoid chipping the edges.
- Drill: You'll need this to make holes for the fasteners.
- Self-tapping screws or roofing nails: These will hold the sheets in place.
- Washer head screws: They help prevent water leakage around the fasteners.
- Sealant: To seal the edges and joints of the sheets.
- Ladder or scaffolding: Depending on the height of your installation.
- Safety gear: Gloves, safety glasses, and a hard hat are a must to protect yourself during the installation process.
Step 1: Prepare the Area
The first thing you need to do is prepare the area where you'll be installing the polycarbonate corrugated sheets. Clean the surface thoroughly to remove any dirt, debris, or loose materials. This will ensure a smooth and secure installation.
If you're installing the sheets on a roof, make sure the roof deck is in good condition. Check for any damaged or warped boards and replace them if necessary. You may also need to install a vapor barrier to prevent moisture from getting into the insulation.
Step 2: Measure and Cut the Sheets
Once the area is prepared, it's time to measure and cut the polycarbonate corrugated sheets. Use a measuring tape to measure the length and width of the area you need to cover. Add a few extra inches to each measurement to allow for overhang.
When cutting the sheets, make sure to wear safety glasses and gloves. Use a circular saw or jigsaw with a fine-tooth blade to make clean cuts. Cut the sheets along the corrugations to avoid chipping the edges.
Step 3: Install the First Sheet
Start by installing the first polycarbonate corrugated sheet at one end of the area. Align the sheet with the edge of the roof or the framework and make sure it's level. Use a drill to make holes through the sheet and into the roof deck or framework. The holes should be slightly larger than the diameter of the fasteners to allow for expansion and contraction.
Insert the self-tapping screws or roofing nails through the holes and into the roof deck or framework. Make sure to use washer head screws to prevent water leakage around the fasteners. Tighten the screws or nails until they're snug, but don't over-tighten them, as this can cause the sheet to crack.
Step 4: Install the Remaining Sheets
Once the first sheet is installed, it's time to install the remaining sheets. Overlap each sheet by at least one corrugation to ensure a watertight seal. Make sure the sheets are aligned properly and that the overlaps are even.
Use a drill to make holes through the overlapping sheets and into the roof deck or framework. Insert the self-tapping screws or roofing nails through the holes and into the roof deck or framework. Make sure to use washer head screws to prevent water leakage around the fasteners.
Step 5: Seal the Edges and Joints
After all the sheets are installed, it's important to seal the edges and joints to prevent water leakage. Use a high-quality sealant and apply it to the edges of the sheets and the joints between the sheets. Make sure to fill any gaps or cracks to ensure a watertight seal.


Step 6: Trim the Overhang
Once the sheets are installed and the edges and joints are sealed, it's time to trim the overhang. Use a circular saw or jigsaw to cut off the excess material. Make sure to cut along the corrugations to avoid chipping the edges.
Step 7: Clean Up
After the installation is complete, clean up the area to remove any debris or waste materials. Dispose of the waste materials properly and make sure the area is safe and clean.
Tips for a Successful Installation
- Read the manufacturer's instructions carefully before starting the installation process.
- Make sure to wear safety gear at all times during the installation process.
- Use the right tools and materials for the job.
- Allow the sheets to expand and contract by leaving a small gap between the sheets and the framework.
- Check the weather forecast before starting the installation process. Avoid installing the sheets in extreme weather conditions, such as high winds or heavy rain.
Conclusion
Installing polycarbonate corrugated sheets is a relatively straightforward process that can be done by anyone with basic DIY skills. By following the steps outlined in this blog, you can install polycarbonate corrugated sheets on your roof, greenhouse, or any other structure with ease.
If you're interested in purchasing polycarbonate corrugated sheets for your project, or if you have any questions about the installation process, feel free to get in touch with us. We're here to help you find the right product for your needs and provide you with expert advice and support. Whether you need a Polycarbonate Roofing Tile, a UV Protected PC Roofing Sheet, a PC Corrugated Wave Roof Sheet, a Greenhouse Corrugated Polycarbonate Sheet, or an Industrial PC Corrugated Sheet, we've got the perfect solution for you.
References
- Polycarbonate Corrugated Sheet Installation Guide. [Manufacturer's Name]
I hope this blog has been helpful to you. If you have any other questions or need more information, don't hesitate to ask. Good luck with your installation!